

Since I made Ally a quilt for Chirstmas, I felt I should make everyone else something in that category. So I decided on making my husband and other 3 girls fleece blankets. Joann's had a great sale on all their fleece so it didn't cost a whole bunch to make these blankets. I used 1 1/2 yards for both the bottom and the top for the girls and I used 2 yards for my husbands. I wish I would have gone a little bigger for his because when he pulls his up to his chin his feet are poking out. I decided to braid these blankets rather than tie. It was so much simpler and it not only looks great but is way more comfortable than cuddling with knots.
.JPG)

After they opened them Christmas morning I found myself sad that I had not made myself one, so the next day I had to go get me some fleece and make another one. Ally is cuddling with mine in this picture.
To make the blanket you need 2 pieces of fleece cut to the size you are wanting the blanket to be. I lay them down with the bad sides together and cut all the sides to where they are as even as possible.
I then cut out a 2 inch square from each corner just like in this picture.

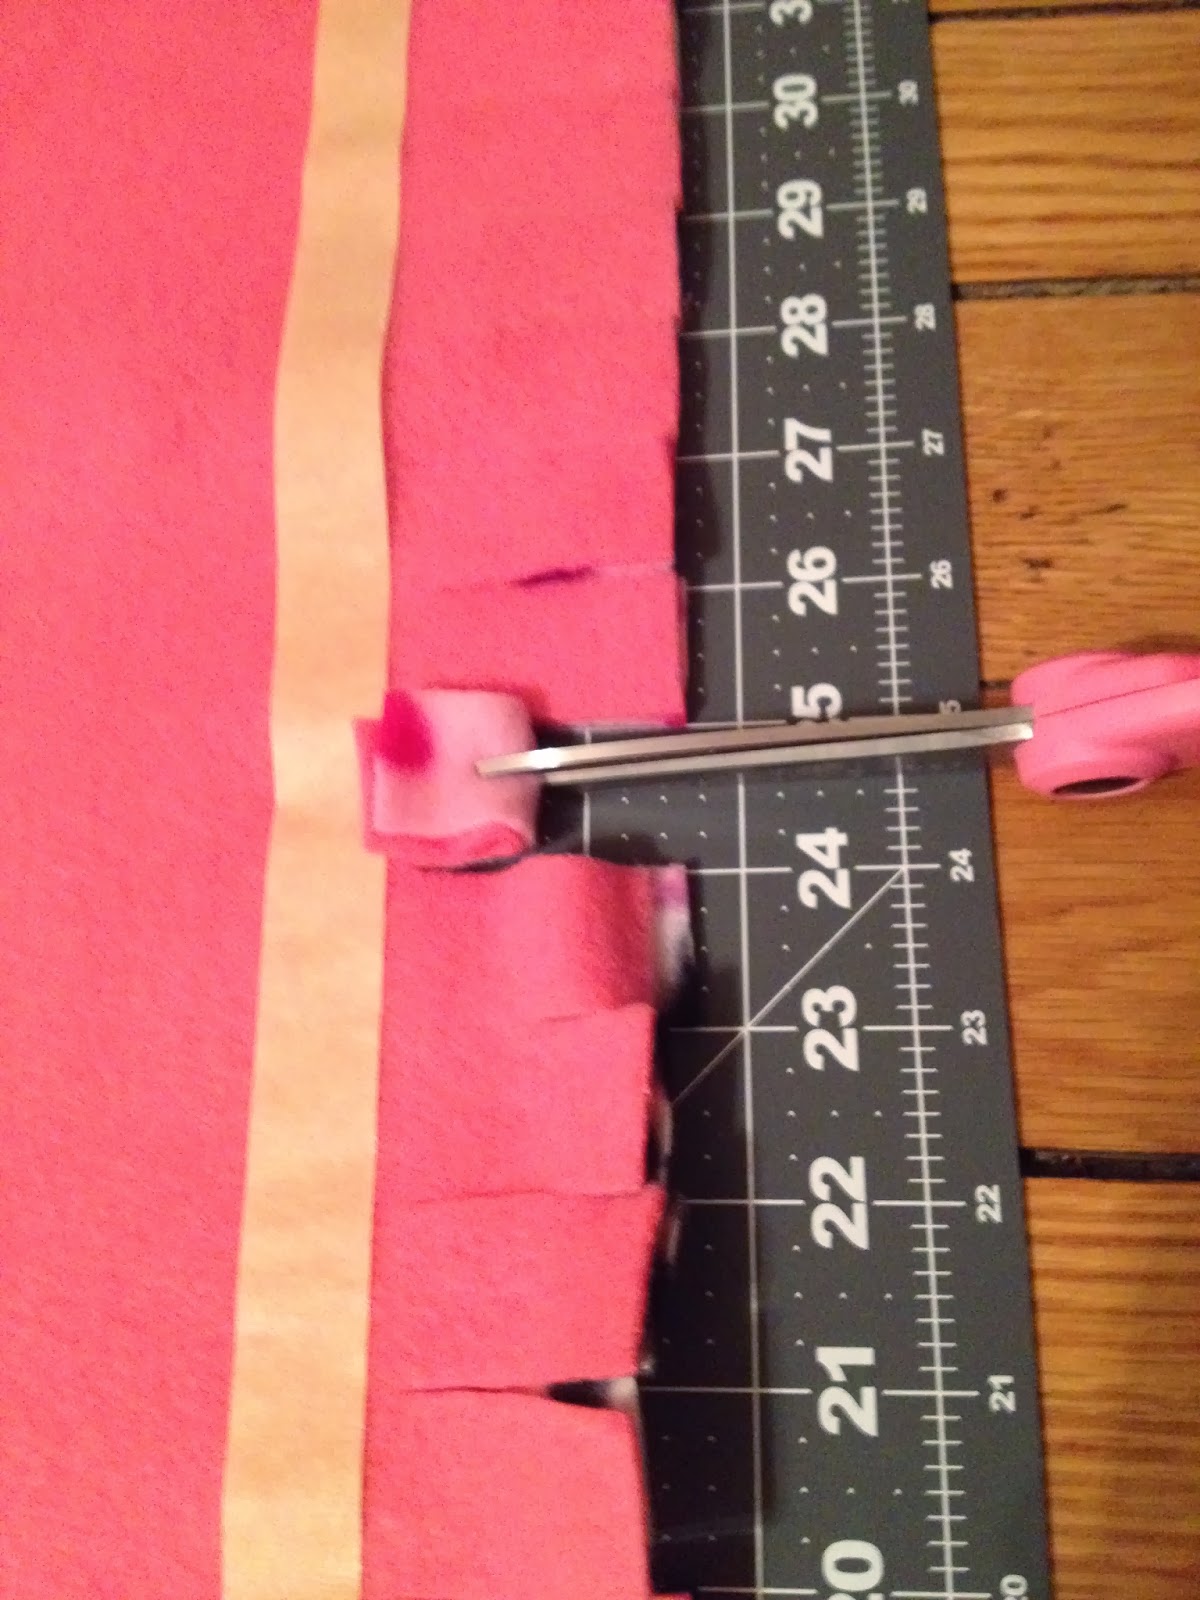
After cutting out the squares on all 4 corners we want to cut the edges just like you do when are tying it rather than braiding. You cut 2 inches into the fleece with the flaps being 1 inch wide. I line the blanket using masking tape or painters tape 2 inches up to help keep all the flaps even. I also have my cutting mat laying underneath.
With all the flaps you want to make another cut through both layers. This cut is just a slit in the middle of the flap just like in this picture.


Now that your back is killing you from bending over this blanket doing all this cutting we get to the relaxing and enjoyable part. Once you have finished with the cutting you can take your blanket and relax in your recliner to do the rest.
I use a crochet hook for this part but you can also use a bent paper clip or something similar. It's totally up to you.
Finding a starting point you are going to put your crochet needle through the top of the slit of your top piece of flannel then through the slit on the piece directly below the first one. You then pull the second piece through the first just like in this picture.

Now go all the way around until you get to the last piece.
With this last piece you are going to pull it through the flab you started with then cut up the center of that last flap to make it two flaps. Pull one of those newly cut flaps out of the slit of the first flap and tie a knot with the the other half flap.

And you are done!


No comments:
Post a Comment